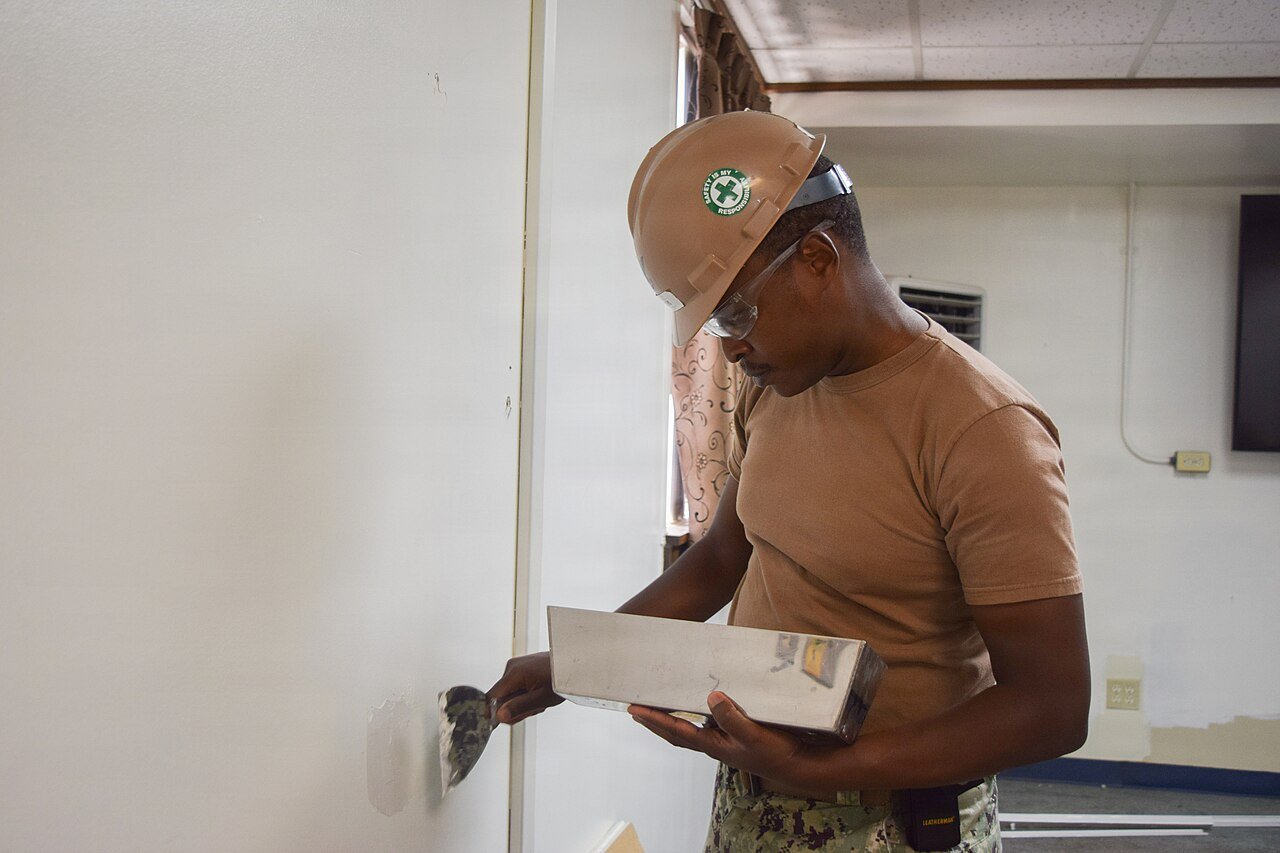
Quick answerMatch the method to the hole size — spackle for nail holes, a self-adhesive mesh patch for holes up to 6 inches, and a cut-to-fit drywall panel with backing for anything bigger. Apply joint compound in thin coats, let each dry fully, sand lightly, prime, then paint.
What you'll need
- For small holes: lightweight spackle and a putty knife ($5–$8)
- For medium holes: self-adhesive mesh or metal drywall patch ($6–$10)
- For large holes: drywall panel, jab saw, wood backing strips, drywall screws
- All-purpose joint compound ($8–$12 for a small tub)
- 6-inch taping knife
- 120-grit sandpaper or sanding sponge
- Primer and matching paint
Step-by-step
- Assess the hole and check behind it. Shine a flashlight in. If you see wiring, pipes, or insulation, proceed carefully — and if the damage is near an electrical box or the hole is in a ceiling, consider a pro. Gravity makes ceiling patches much harder.
- Small holes (nail/screw size): spackle. Press lightweight spackle into the hole with a putty knife, scrape flush, and let dry 1–2 hours. One coat is usually enough. Sand lightly with 120-grit.
- Medium holes (up to 6 inches): mesh patch. Stick a self-adhesive mesh patch centred over the hole. Spread a thin coat of joint compound over the mesh, feathering 2–3 inches past its edges. Let dry completely (4–8 hours), then apply a second thin coat wider than the first.
- Large holes: cut and fit a panel. Square off the hole with a jab saw. Screw wood backing strips inside the opening, cut a drywall piece to fit, and screw it to the backing. Tape the seams with paper or mesh tape, then compound over them in 2–3 thin coats.
- Thin coats, full drying between. This is the whole secret. Each coat should be just thick enough to cover. Rushing a thick coat leads to cracking and endless sanding. Most compounds need 8–24 hours per coat depending on humidity.
- Sand lightly between coats. Use 120-grit and a light touch — you're knocking down ridges, not reshaping. Wipe dust off with a damp cloth before the next coat so it bonds properly.
- Prime before painting. Joint compound is thirsty and will flash through topcoat paint as a dull spot. One coat of primer over the repair, then paint to match. For textured walls, dab thinned compound with a sponge to mimic the texture before priming.
<div class="safety"> <strong>🛑 Stop and call a pro if:</strong> <ul> <li>The hole is in a ceiling — overhead patching sags, cracks, and is miserable to sand; pros have the technique and the stilts.</li> <li>You find wiring, junction boxes, or plumbing directly behind the damage.</li> <li>The drywall is soft, crumbly, or discoloured over a wide area, which points to water damage that needs the source fixed first.</li> <li>The hole is bigger than about a foot square — at that point a pro can do in an hour what takes a beginner a weekend.</li> </ul> </div>
DIY vs pro cost
| Option | Typical cost |
|---|---|
| DIY | $10–$25 |
| Pro visit | $150–$400 |
Printable checklist
- [ ] Check behind the hole for wires/pipes
- [ ] Choose method by size: spackle / mesh patch / panel
- [ ] Apply joint compound in THIN coats
- [ ] Let each coat dry fully (8–24 hrs)
- [ ] Sand lightly with 120-grit between coats
- [ ] Wipe dust before recoating
- [ ] Prime the repair before painting
- [ ] Match wall texture if needed
Related guides
- How to Fix a Squeaky Door Hinge in 5 Minutes (No Removal)
- How to Fix Squeaky Floors (From Above and Below)
- How to Weatherstrip a Door (Stop Drafts, Cut Bills)
Frequently asked questions
How long does joint compound take to dry?
Thin coats dry in 8–12 hours in normal conditions, longer in humidity. The surface may look dry while the centre is still soft — if it feels cool or looks darker in patches, give it more time. Setting-type compound (the powder you mix) dries faster and is worth it for deep fills.
Can I just paint over the patch without priming?
You'll regret it — the compound absorbs paint differently than the surrounding wall and shows as a dull "flash" mark. Primer is cheap and takes ten minutes. Always prime.
How do I match orange-peel or knockdown texture?
Thin some joint compound with water to a pancake-batter consistency and dab it on with a sponge or stipple brush, then lightly knock it down with your taping knife once it starts to set. Practice on cardboard first.
Do I need backing for a medium patch?
Self-adhesive mesh patches up to about 6 inches don't need backing — the mesh bridges the hole. Anything larger needs wood strips screwed inside the opening to support the new drywall piece, or it'll flex and crack.
Advertisement