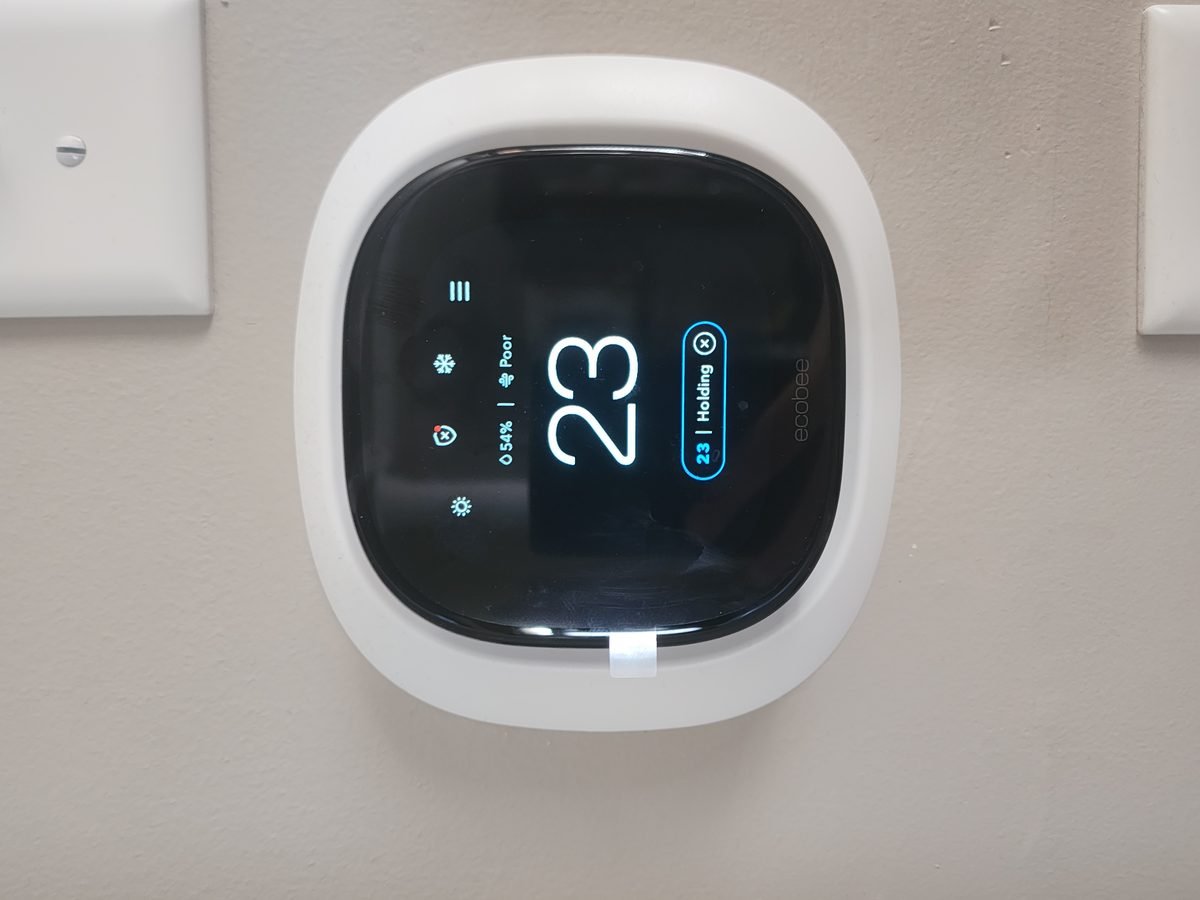
Quick answerTurn off HVAC power at the breaker, label every wire as you remove the old thermostat, check for a C-wire (the dealbreaker), mount the new base, reconnect wires to matching terminals, and run setup. No C-wire? Use the included power adapter or call an HVAC tech.
What you'll need
- Smart thermostat (Nest $130–$180, Ecobee $170–$250)
- Screwdrivers
- Phone camera (for wiring photos)
- Masking tape + pen (for labeling wires)
- C-wire adapter (often included; $25–$35 if bought separately)
- Drill (only if new screw holes needed)
Step-by-step
- Turn off HVAC power at the breaker. Find the breaker labeled furnace/HVAC/air handler and flip it OFF (consumer unit in the UK). Thermostat wires are low voltage, but the furnace itself isn't — and you don't want the system kicking on while wires are loose.
- Remove the old thermostat cover and photograph everything. Pop the faceplate off. Before touching a single wire, take a clear photo showing which wire connects to which terminal (R, W, Y, G, C, etc.).
- Label each wire. Wrap a small piece of masking tape around each wire and write its terminal letter on it. Wire colors aren't perfectly standardized — the label matters more than the color.
- Check for a C-wire. Look for a wire connected to the terminal labeled "C" (common). This is the make-or-break question: smart thermostats need constant power, and the C-wire provides it. No C-wire? Don't panic — both Nest and Ecobee include (or sell) a power adapter kit that creates one at the furnace end. It's an extra 20 minutes, not a dealbreaker.
- Disconnect and remove the old base. Loosen the terminal screws, free the wires (don't let them fall back into the wall — tape them to the wall if needed), and unscrew the old mounting plate.
- Mount the new base. Hold the new base level against the wall, mark screw holes, and secure it. If the old holes don't line up, use the included anchors. Thread the labeled wires through the center opening.
- Connect wires to matching terminals. Push each wire into the terminal matching its label — R to R, W to W, Y to Y, G to G, C to C. The connectors are usually push-in; give each wire a gentle tug to confirm it's seated. This is where your labels earn their keep.
- Attach the display and restore power. Snap the thermostat onto the base, flip the breaker back on, and follow the on-screen setup: Wi-Fi, heating/cooling type, and schedule preferences. Run a test — call for heat, then cooling — and confirm the system responds.
- Install the C-wire adapter if needed. If you had no C-wire, follow the adapter instructions at the furnace control board (power OFF at the breaker). It involves moving a couple of wires on clearly labeled terminals — but if the furnace wiring looks like spaghetti, an HVAC tech can do it in 15 minutes.
<div class="safety"> <strong>🛑 Stop and call a pro if:</strong> <ul> <li>Your system is high-voltage (electric baseboard heat) — smart thermostats for line voltage are a different product entirely.</li> <li>You have a heat pump with auxiliary heat and the wiring doesn't match the thermostat's diagram.</li> <li>There's aluminum wiring at the thermostat or furnace.</li> <li>The furnace control board is unlabeled, corroded, or you can't identify the terminals with confidence.</li> <li>You feel any tingling or get a shock from the thermostat or furnace chassis — stop immediately, that's an electric shock risk.</li> <li>If you see aluminum wiring or there's no ground wire in the circuit, call an electrician.</li> </ul> </div>
DIY vs pro cost
| Option | Typical cost |
|---|---|
| DIY | $130–$250 (thermostat; adapter often included) |
| Pro install | $100–$200 labor on top of the thermostat |
Printable checklist
- [ ] HVAC breaker OFF (furnace + AC)
- [ ] Photo of old wiring taken before touching anything
- [ ] Every wire labeled with its terminal letter
- [ ] C-wire confirmed present (or adapter plan ready)
- [ ] Wires secured so none fall into the wall
- [ ] New base level and firmly mounted
- [ ] Each wire tug-tested in its terminal
- [ ] Breaker on, heat and cooling both tested
Related guides
- How to Replace a Light Switch Safely (Step-by-Step)
- How to Install a Dimmer Switch (30-Minute Guide)
- How to Replace an Electrical Outlet (Socket)
Frequently asked questions
Do I really need a C-wire? My old thermostat worked without one.
Old thermostats were just switches — they didn't need constant power. Smart thermostats are little computers with Wi-Fi and need steady power. Without a C-wire expect random reboots, Wi-Fi drops, or a dead screen in winter.
Will a smart thermostat work with my system?
With standard forced-air (furnace + AC), almost certainly yes. Both Nest and Ecobee have online compatibility checkers where you enter your wire labels. Heat pumps, dual-fuel, and baseboard systems need more care — check before buying.
How much will it actually save on energy bills?
Real-world results vary wildly with climate, house insulation, and how aggressively you program it. The honest answer: it saves the most for people who currently heat/cool an empty house all day. If someone's always home, the savings are modest.
Advertisement