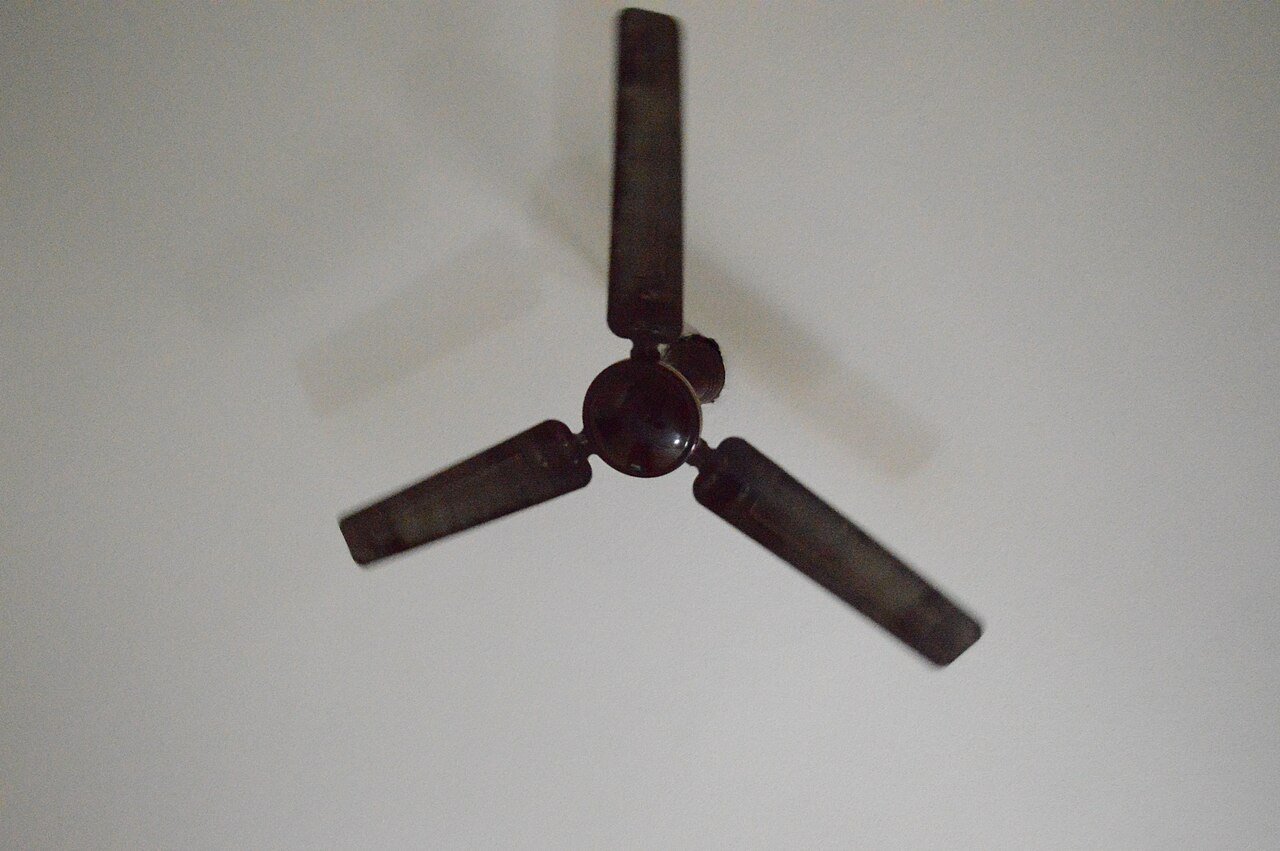
<div class="safety"> <strong>⚡ READ FIRST — electrical safety:</strong> <ul> <li>Turn off power at the <strong>breaker box</strong>, not just the wall switch</li> <li><strong>Verify with a non-contact voltage tester</strong> ($15) before touching any wire</li> <li>If you see aluminum wiring, cloth-insulated wires, or no ground wire — <strong>stop and call an electrician</strong></li> <li>Never work on a ladder alone with live circuits nearby</li> </ul> </div>
What you'll need
- New ceiling fan
- Non-contact voltage tester ($15 — non-negotiable)
- Screwdrivers, wire strippers
- Ladder
- Wire nuts (usually included with fan)
Step-by-step
- Kill the breaker. Flip it, then confirm the fan is dead.
- Test for voltage. Touch the tester to every wire. No beep = safe to proceed.
- Remove the old fan. Blades first, then motor housing, then disconnect wires (photo the wiring before disconnecting).
- Check the box. It must be fan-rated (marked for ceiling fan support). A regular light box can't hold a fan's weight and vibration — if it's not fan-rated, stop here and call an electrician.
- Install the new bracket per the fan's manual.
- Wire it up — standard US colors:
- Black to black (fan motor)
- Blue to black (light kit, if separate)
- White to white (neutral)
- Green/bare to green/bare (ground)
- Cap with wire nuts, tug-test each
- Mount the motor, attach blades, install light kit/globe.
- Restore power and test all speeds + light + reverse switch.
UK/AU wiring note
Wire colors differ outside North America (UK: brown = live, blue = neutral, green/yellow = earth). If your wiring doesn't match your fan's manual, call a local electrician — don't guess.
<div class="safety"> <strong>🛑 Stop and call an electrician if:</strong> <ul> <li>The ceiling box isn't fan-rated</li> <li>Wiring colors don't match or confuse you</li> <li>Aluminum wiring is present</li> <li>The fan wobbles violently after balancing attempts</li> </ul> </div>
DIY vs pro cost
| Option | Typical cost |
|---|---|
| DIY (fan + tester) | $65–$215 |
| Electrician install | $150–$350 |
Printable checklist
- [ ] Breaker OFF + verified with tester
- [ ] Old fan removed, wiring photographed
- [ ] Box confirmed fan-rated
- [ ] Wires matched by color, tug-tested
- [ ] Blades balanced, no wobble
- [ ] Power restored, all speeds tested