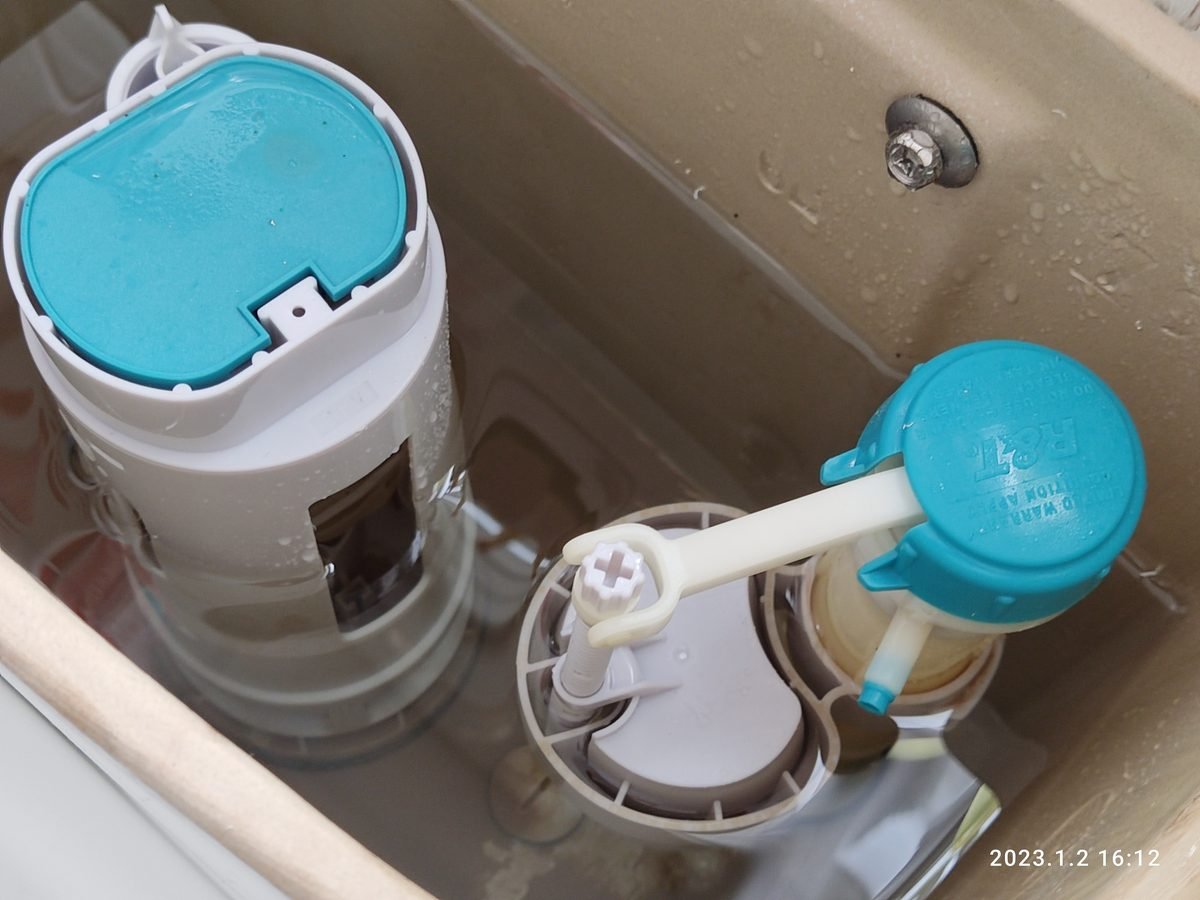
What you'll need
- Replacement flapper ($5–$10 — check whether yours is 2-inch or 3-inch first)
- Food coloring or dye tablets (a few dollars, or use what you have)
- Rubber gloves
- Sponge and old towels
- Adjustable wrench (only if the supply line needs attention)
Step-by-step
- Do the dye test. Squeeze a few drops of food coloring into the tank (not the bowl), then don't flush for 15–20 minutes. If color shows up in the bowl, tank water is leaking past the flapper — that's your culprit.
- Shut off the water. Turn the supply valve behind the toilet clockwise until it stops. Turn gently — old valves get stiff, and forcing one can snap it off.
- Drain the tank. Flush once, holding the handle down to push out as much water as possible. Sponge out the rest so you can work dry.
- Inspect the flapper. Unhook the chain and slide the flapper off the two pegs on the overflow tube. If it's warped, slimy, or leaves black residue on your fingers, it's finished — rubber flappers wear out every few years.
- Install the new flapper. Slide it onto the pegs exactly the way the old one sat, then hook the chain to the flush lever arm. Leave about ½ inch (1 cm) of slack — too tight and it can't seal, too loose and it tangles under itself.
- Check the water level. The fill line should sit about 1 inch (2.5 cm) below the top of the overflow tube. If your toilet was running because water kept spilling into the overflow, lower the fill valve by pinching its adjustment clip and sliding it down.
- Turn the water back on and test. Let the tank fill, then flush three times and watch. The tank should fill and shut off cleanly with no hissing afterward.
- Listen for 10 minutes. Walk away and come back. Silence means you won. If you still hear running, the fill valve itself is likely worn — that's the next part to replace, and it's also cheap and easy.
<div class="safety"> <strong>🛑 Stop and call a pro if:</strong> <ul> <li>The shut-off valve won't turn or starts dripping when you touch it — a snapped valve means water pouring out with no way to stop it.</li> <li>You see a crack in the tank or water pooling at the base that isn't coming from the supply line — cracked porcelain can't be patched reliably.</li> <li>The supply line is corroded, bulging, or weeping — braided steel lines are cheap to replace, but a burst one floods a bathroom in minutes.</li> <li>Water is seeping from under the toilet base itself — that's a failed wax ring, a different and much messier job.</li> </ul> </div>
DIY vs pro cost
| Option | Typical cost |
|---|---|
| DIY | $5–$15 |
| Pro visit | $150–$250 |
A plumber will charge a minimum service call for what is genuinely a 30-minute homeowner job. Unless the shut-off valve or supply line is involved, there's no reason to pay someone for this one.
Printable checklist
- [ ] Dye test confirms flapper leak (color in bowl after 20 minutes)
- [ ] Correct flapper size bought (2-inch vs 3-inch)
- [ ] Water shut off gently at the supply valve
- [ ] Tank drained and sponged dry
- [ ] New flapper seated on the overflow tube pegs
- [ ] Chain has about ½ inch of slack
- [ ] Water level sits 1 inch below the overflow tube
- [ ] Three test flushes, then a 10-minute silence check
Related guides
- How to Unclog a Toilet Without Calling a Plumber
- How to Replace a Toilet Flapper: The $5 Fix (15 Min)