What you'll need
- Adjustable wrench
- Flathead and Phillips screwdrivers
- Replacement washer kit ($3–$8 — assorted faucet washers from any hardware store)
- Teflon tape ($2–$3)
- Bucket and rags
Step-by-step
- Diagnose the leak location. Turn the faucet off and watch: water dripping from the spout mouth is a washer problem. Water seeping from around the handle or stem is a packing nut problem. The fixes are different, so get this right first.
- Shut off the interior valve if you have one. Many outdoor faucets have a dedicated shutoff inside the house (basement, crawlspace, utility room). Close it and open the outdoor faucet to drain the line. If there's no interior shutoff, you'll be working with the main house water on — keep it quick and controlled.
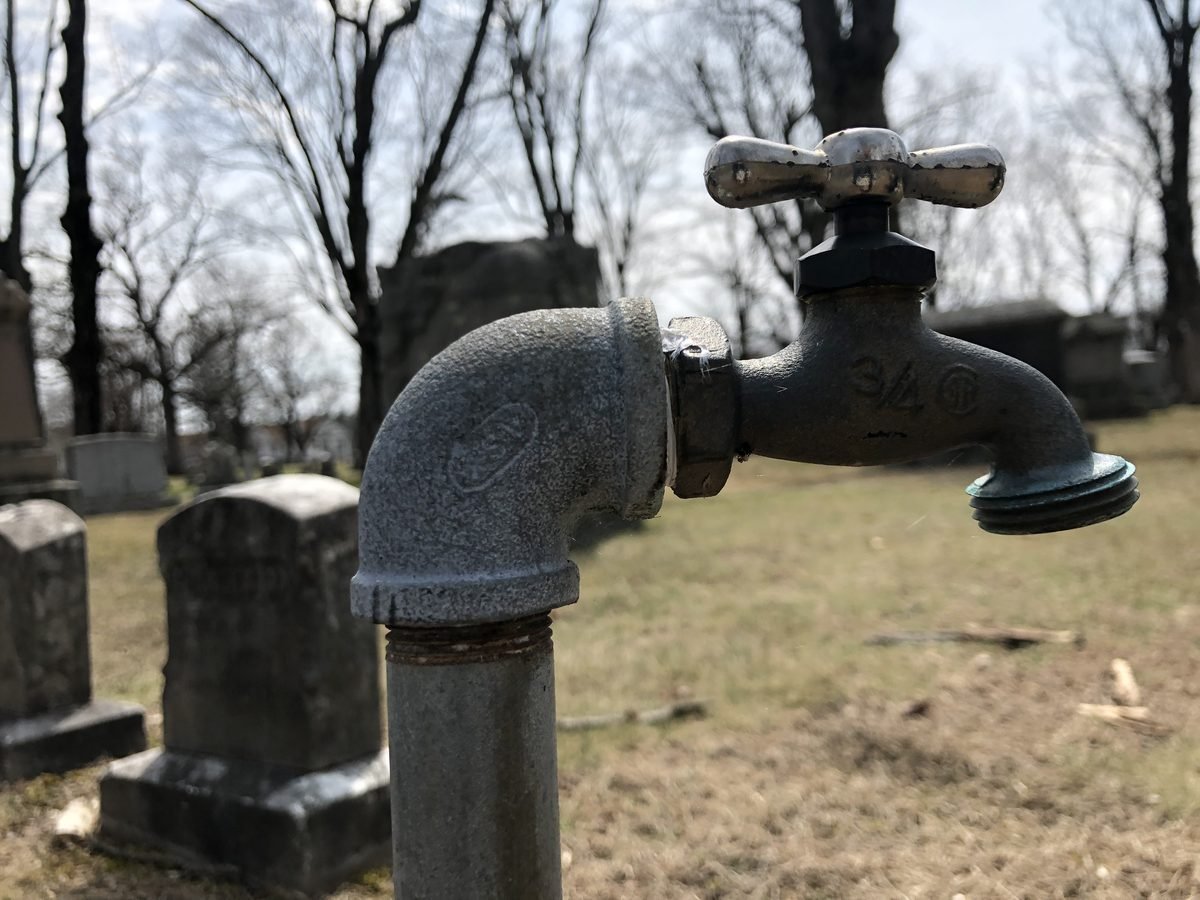
- For a handle leak: tighten the packing nut. The packing nut is the hex nut right behind the handle where the stem enters the faucet body. Snug it about a quarter turn clockwise with your wrench. In many cases that's the entire fix — the packing just compressed over time.
- For a spout drip: remove the stem. Take the handle screw out, pull the handle off, then unscrew the packing nut fully and pull the whole stem assembly straight out.
- Replace the washer. At the end of the stem you'll see a small rubber washer held by a screw. Unscrew it, swap in a matching new washer, and tighten the screw. While you're in there, check the stem's O-rings — if they're cracked, replace those too (most kits include them).
- Reassemble and test. Slide the stem back in, tighten the packing nut snug (not gorilla-tight), reinstall the handle, and turn the water back on. Run it full blast, then shut it off and watch for drips for a minute.
- Check the vacuum breaker. If water sprays or leaks from the cap on top of the faucet only when a hose is attached, that's the vacuum breaker (backflow preventer) — they wear out and are cheap to replace by just unscrewing the old cap and threading on a new one.
- Winterize before the freeze. When you're done, disconnect all hoses before cold weather hits. A connected hose traps water in the faucet, which is the #1 cause of burst hose bibs — and a burst frost-free sillcock leaks inside your wall, not outside.
<div class="safety"> <strong>🛑 Stop and call a pro if:</strong> <ul> <li>Water is leaking inside the house behind the faucet — a split frost-free sillcock leaks into the wall cavity, and that's water damage plus a pipe repair, not a washer swap.</li> <li>The faucet body is cracked or the pipe feeding it is corroded — forcing old fittings risks breaking the pipe inside the wall.</li> <li>There's no interior shutoff and you can't control the water flow safely while working — don't learn this lesson the wet way.</li> <li>The leak returns within days of a washer replacement — the valve seat itself may be pitted or damaged, which needs reseating tools or a new faucet.</li> </ul> </div>
DIY vs pro cost
| Option | Typical cost |
|---|---|
| DIY | $5–$15 |
| Pro visit | $150–$300 (full hose bib replacement runs higher) |
Washers cost pocket change and the job is straightforward. You only need a plumber if the problem is behind the wall or the faucet body itself is shot.
Printable checklist
- [ ] Leak location identified (spout = washer, handle = packing nut)
- [ ] Interior shutoff closed if one exists
- [ ] Packing nut tightened a quarter turn (handle leaks)
- [ ] Stem removed, washer matched and replaced (spout drips)
- [ ] O-rings inspected and replaced if cracked
- [ ] Reassembled and tested at full flow, then watched for drips
- [ ] Vacuum breaker checked (leaks only with hose attached)
- [ ] Hoses disconnected for winter
Related guides
- How to Replace a Showerhead in 15 Minutes
- How to Remove Hard Water Stains (Glass, Faucets, Toilets)
- How to Fix Low Water Pressure in Your House